
![]()
As you probably know, taking desktop screenshots is pretty simple under Mac OS X. Actually, you won’t know how simple this OS is designed as far as taking desktop screenshots is concerned unless you use other operating systems. Anyway, if you want to take a full-screen desktop screenshot, you just need to press Command + Shift + #3. And you can take as many desktop screenshot as you need consecutively or not consecutively by using this shortcut combination. Press Command + Shift + #4 to take a desktop screenshot after making a selection. If you want, you can open System Preferences and click on Keyboard & Mouse Preference Pane to customize these shortcut key combinations. (See Screenshot 01.)
 Screenshot 01: Source – MacHouse |
 Screenshot 02: Source – MacHouse |
 Screenshot 03: Source – MacHouse |
By the way, default system settings are such that screenshots will all appear on the desktop. And the default screenshot format is set to PDF. You can change these default settings, using system utility freeware/shareware like OnyX, which gives you access to hidden Unix commands. For example, after launching OnyX, click on the Parameters button at the top and then the General tab. (See Screenshot 02.) Now, if you want to change screenshot formats, click on the pull-down menu under Screen capture format. Supported formats include BMP, JPEG, PICT, PNG, TIFF and more. (See Screenshot 03.) You can also change the default location for saving screenshots by clicking on the button that says Select under Path.
How does taking desktop screenshots work under Windows OS? What is the short cut key combination for taking desktop screenshots? So let’s see what Boot Camp users have to know about taking screenshots under Windows (Windows XP).
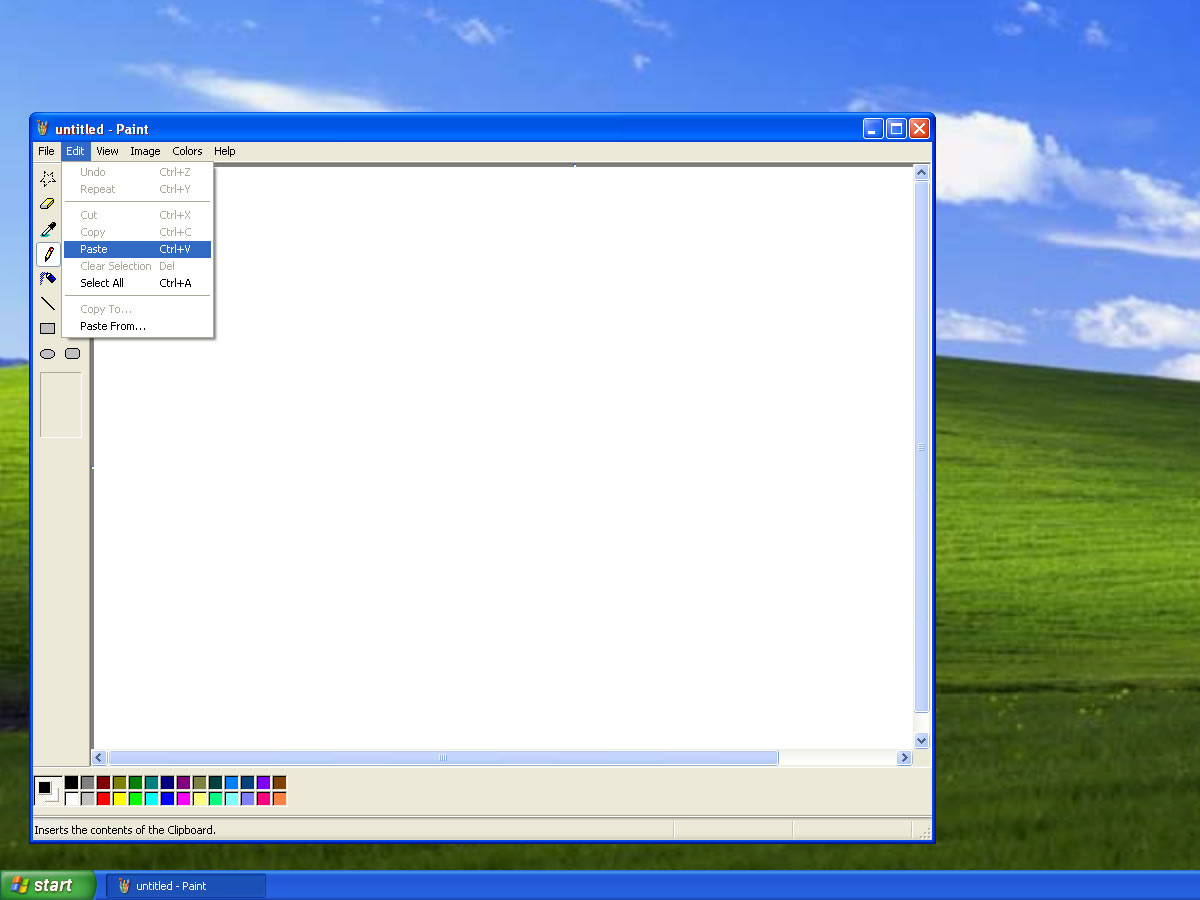
In order to take a screenshot under Windows XP, you need to press the Print Screen button. If you are a Mac user with a Mac keyboard, you won’t see this label. This button is allocated to F14 through Boot Camp by default. So whenever you want to take a screenshot, just press F14. Actually, you won’t get a screenshot file by pressing this button. You need to open a graphic application and paste the screenshot you have taken. You can use Paint, which comes with Windows XP, if you don’t have one. You can find it under Accessories. (See Screenshot 04.) Then just press Control + V or choose Paste under Edit after pressing F14. (See Screenshot 05.) Then you need to save it as a file.
 Screenshot 04: Source – MacHouse |
 Screenshot 05: Source – MacHouse |
 Screenshot 06: Source – MacHouse |
Okay. So we can take screenshots under Windows. Well… More precisely, you can only take one screenshot at a time. Since the OS doesn’t produce a file each time you take a screenshot, you have to save a screenshot as a file for yourself.
The best you can do under Windows (Windows XP) is to take multiple screenshots and save them all at a time later on with help of a third-party application. For example, there is a shareware title for Windows called HyperSnap from Hyperionics. As shown in Screenshot 06, multiple screenshots are in a queue. So I could just save each of them after I finished taking screenshots.
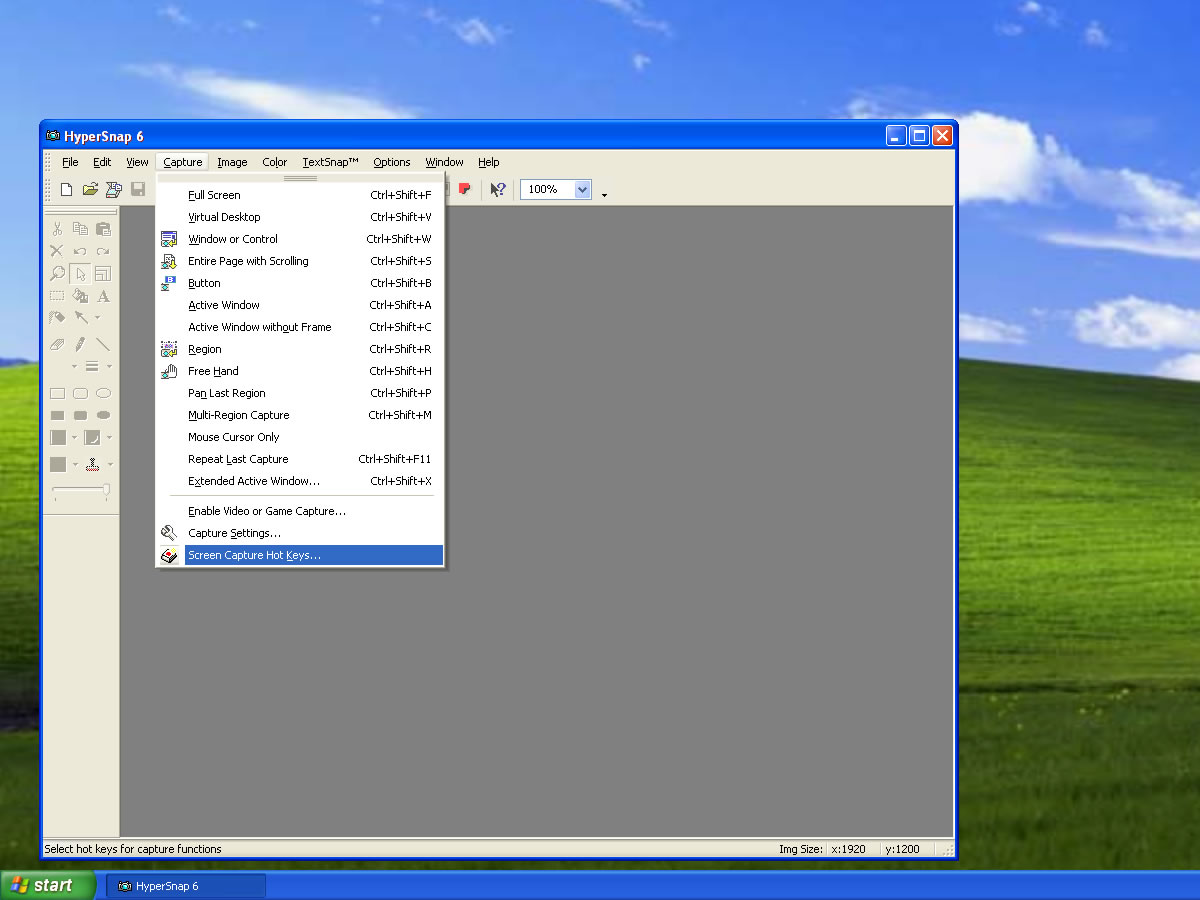
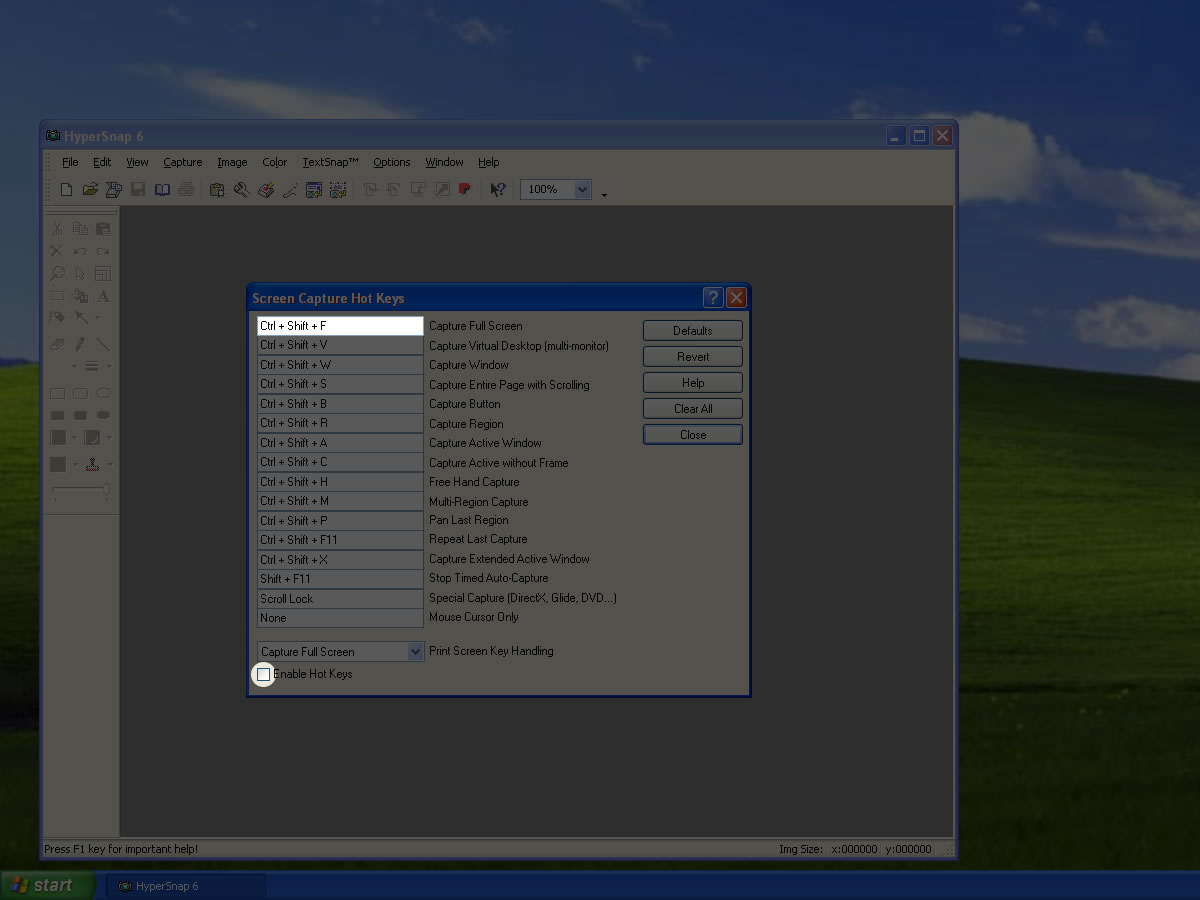
Let’s see how HyperSnap 6 works briefly. After launching HyperSnap 6, choose Screen Capture Hot Keys under Capture. (See Screenshot 07.) The default shortcut key combination for taking full-screen screenshots is set to Control + Shift + F. (See Screenshot 08.) You can actually use F14 as well. Make sure the checkbox at the very bottom of the window is enabled.
 Screenshot 07: Source – MacHouse |
 Screenshot 08: Source – MacHouse |
 Screenshot 09: Source – MacHouse |
Furthermore, open Capture Settings. (See Screenshot 09.) Then click on the Capture tab. If Restore this window to front after the capture is enabled, HyperSnap’s window will become active every time you take a screenshot. So you may want to disable it. You want to disable it because the active screen will switch to HyperSnap, for example, if you press F14 while playing a game.
Note that MacHouse does not necessarily recommend people to use HyperSnap. In fact, we don’t find an office address or a contact phone number at software developer’s website. So we don’t. You can use any screenshot capture application.
Thanks a lot! Really nice article 😉
OnyX helped me.